Page History
Step 1. Launch Aspire and open the Workflows Page.
Launch Aspire (if it's not already running). See:
- Browse to: http://localhost:50505 and then open the Workflows Page. For details on using the Aspire UI, please refer to this page: Aspire UI.
Step 2. Add or select a Workflow.
- Add a new workflow or open an existing workflow.
- For this step, please refer to the Workflow Introduction.
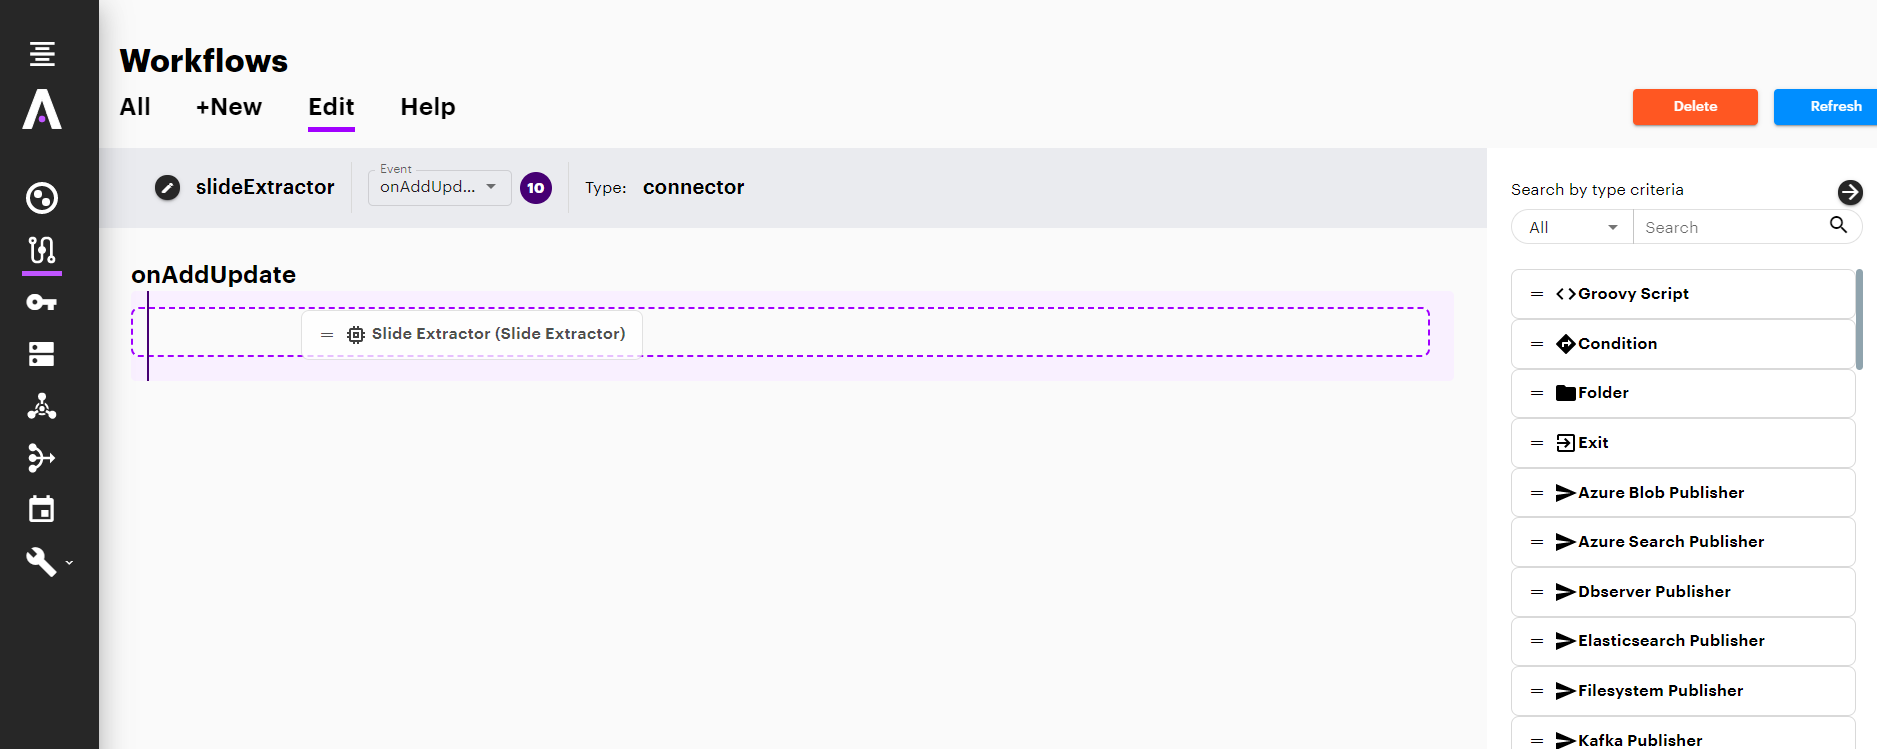
Step 3. Add a new Slide Extractor to the Workflow.
- Select the event for which you want to add the Slide Extractor to, from the Event combo.
- To add a Slide Extractor, drag the Slide Extractor from the Rules Section on the right side of the screen and drop it below the Workflow Event to the left side of the screen. This will automatically open the Slide Extractor window for the configuration of the component.
Step 3a. Specify a description.
In the Slide Extractor window, specify the component information.
- General:
Description: Enter the description of the component.
Set Temp Files Path: The path to the folder where the temporal files were being processed. Furthermore, you can set a System Variable "user.dir" with the path (if False, the system variable is needed).
- Set Max Character to read: Maximum characters for the file loaded into memory to be parsed. (False will set to unlimited).
Add Extra Info from parent: Specify name of the field from the parent job to add as extra info to every slide.
Parse process timeout: Maximum time (in minutes) for the processing thread to wait for the parsing result.
Wait For SubJobs sleep: Time to wait (in milliseconds) until all sub jobs are done.
Debug: Enable debug logs

Once you've clicked on the Add button, it will take a moment for Aspire to download all the necessary components (the Jar files) from the Maven repository and load them into Aspire. Once that's done, the component will appear in the Workflow Tree.
| Info |
|---|
For details on using the Workflow section, please refer to the Workflow introduction. |
| Note | ||
|---|---|---|
| ||
This component does not handle directly a snapshot of all the slides to perform a complete delete of all the slides when receiving a delete file. To achieve the deletion, you need to do a "Delete by Query" to your index with the ID of the parent. An example of a groovy script could be (you can also use the Groovy HTTP Client component that already includes a requester): |
| Code Block | ||||||
|---|---|---|---|---|---|---|
| ||||||
import java.util.Base64;
import com.accenture.aspire.framework.utilities.SecurityUtilities;


// Change index name or url
def url = "http://localhost:9200/index-test-delete/_delete_by_query";
def query = "{\"query\": {\"match\":{\"hierarchy.hashId\": \"%s\"}}}"
def id = ""

if(doc.get("hierarchy")!=null)
   id = doc.get("hierarchy").get("item").getAttribute("@hashId")

def body = String.format(query, id)

//def user = "xxx"
//def password = "encrypted:4D78F2DE7F5748E47EA226352852742318EB2A0AED5106B2A2CF93ACB6CD9ABD"
//def credentials = user+":"+SecurityUtilities.decryptString(password)
//def authHeader = SecurityUtilities.getBasicAuthenticationString(user, password)

def URL obj = new URL(url)
def con =  obj.openConnection()
con.setRequestMethod("POST")
con.setRequestProperty("Content-Type", "application/json");
//con.setRequestProperty ("Authorization", authHeader);

// For POST only - START
con.setDoOutput(true);
os = con.getOutputStream();
os.write(body.getBytes());
os.flush();
os.close();

println(body);

responseCode = con.getResponseCode();
println("POST Response Code :: " + responseCode);
if (con.getResponseCode() == HttpURLConnection.HTTP_OK){
   inputStream = con.getInputStream();
   encoding = "UTF-8";

   baos = new ByteArrayOutputStream();
   byte[] buffer = new byte[1024];
   int length = 0;
   while ((length = inputStream.read(buffer)) != -1){
      baos.write(buffer, 0, length);
   }
   println "response: "+baos.toString(encoding);
}

if(responseCode != 200){
   //log or throw error
} |
Overview
Content Tools