Page History
Follow this link if you are using ---> Aspire for Elasticsearch <---
The following tutorial gets you started with Aspire in 20 minutes or less.
This tutorial is for Aspire 4.0 (Hawthorn).
| Tip |
|---|
Make sure that the Aspire version you download matches your tutorial version. The released binaries must match the training versions. |
On this page:
Related pages:
Aspire Quick Start with Distribution ArchetypeStep 1: Before be registered to http://aspire.searchtechnologies.com/) if you haven't already done that registration and inThis tutorial assumes you have already set up your environment. If not, see the Prerequisites.
Step 1: Download with Pre-Built Binaries
You must be registered to access the binaries download page. Go to How to Access Aspire , to check the Aspire Registration process.
A pre-built distribution of Aspire can be downloaded from Aspire Binaries .
This distribution contains pre-built binaries for a functioning Aspire installation which works for both Windows and Linux.
After downloading Aspire, extract the contents of the zip or tar file into a directory.

- Download and unpack https://wiki.searchtechnologies.com/binaries/.
- Select the most recent Aspire binary (aspire-distribution-X.X.zip). For purposes of this tutorial, we'll use "aspire-quick-start" as the directory name to which you unpack Aspire.
Note: This is the best way to evaluate Aspire with or without premium connectors. If you are actually building a distribution, the preferred method is to use the Distribution Archetype, which requires downloading a Maven client.
The download will create a directory structure similar to that described in Directory Structure.Anchor StartMongo StartMongo
Step
3| StartMongo | |
| StartMongo |
2: Start MongoDB
- If you haven't installed MongoDB yet, do it now: Install and Configure MongoDB 3.X MongoDB - Installing and Configuring a Crawl Status Database
- Make sure your MongoDB server is running by executing:
| Code Block | ||
|---|---|---|
| ||
> mongo MongoDB shell version: 4.0.4 connecting to: test > |
Error
If a "NETWORK Failed to connect to 127.0.0.1:27017" error occurs, then it is not running.
Start it by executing:
For Windows:
Open a terminal and CD to your MongoDB installation folder and execute:
| Code Block | ||
|---|---|---|
| ||
C:\Program Files\MongoDB\Server\4.0\bin> mongod |
For Linux:
| Code Block | ||
|---|---|---|
| ||
$ sudo service mongod start |
Anchor editConfig editConfig
Step
4| editConfig | |
| editConfig |
3: Edit the Aspire config/settings.xml
fileFile
- Go to the directory where you unpacked Aspire (such as "aspire-quick-start").
- Go to the configuration directory /config.
- Open the settings.xml file with a text or XML editor.
- Look for the maven repository the clusterId tag.
You need to specify a cluster Id, we recommend to replace the
username and password that displays with the username and password you used to register for Aspire.dev in the settings.xml with your unique cluster id
Code Block language xml firstline
11 linenumbers true
<repositories>

	<defaultVersion>4.0</defaultVersion>

	<repository type="distribution">
		<directory>bundles/aspire</directory>
	</repository>

	<repository type="maven">
		<remoteRepositories>
			<remoteRepository>
				<id>stPublic</id>
				<url>http://repository.searchtechnologies.com/artifactory/public/</url>
				<user>YOUR-REGISTERED-USERNAME</user>
				<password>YOUR-REGISTERED-PASSWORD</password>
			</remoteRepository>
		</remoteRepositories>
	</repository>
</repositories>
<!-- By default all Aspire servers start in their own cluster. To make servers work together, set a common cluster id across multiple instances that are connected to a common zooKeeper instance and database provider (for example "dev" or "prod") --> <clusterId>dev</clusterId>
| Tip |
|---|
If you encounter Parsing Error: org.xml.sax.SAXParseException: Content is not allowed in prolog This error is caused by the presence of a byte-order mark (BOM) at the start of your XML file. You can see the BOM using "od -c <filename>". Remove the BOM by copying and pasting the entire file contents to a new file in a text editor (since the BOM does not copy to the clipboard). |
You may also need to edit the settings if you are running MongoDB on a separate machine.
- If this is the case,
6. After you've entered your username and password, Save and close the file. Make sure you save it so it remains an .xml file!
7.- Modify the following section and point to the server where you installed MongoDB. In this case, MongoDB is running in the host called mongodb-host:
| Excerpt Include | ||||
|---|---|---|---|---|
|
Anchor StartupAspire StartupAspire
Step
5| StartupAspire | |
| StartupAspire |
4: Start
upAspire
First, make sure you have access to the internet so that Aspire can download components from our Maven repository.
To start Aspire, follow these steps:
- Open a terminal and cd to the bin/ directory inside the downloaded Aspire Distribution.
- Execute the startup script
- Windows
| Code Block | ||
|---|---|---|
| ||
> aspire.bat |
Linux
| Code Block | ||
|---|---|---|
| ||
$ aspire.sh |
OS X (this command must be executed from Aspire home directory)
| Code Block | ||
|---|---|---|
| ||
$ bin/aspire.sh |
Error
If you are unable to start Aspire and an error occurs, try accessing a URL via the browser and logging in with your registered username/password. For example:
- Can you get to httphttps://repository.searchtechnologies.com/artifactory/public/com/searchtechnologiesaccenture/aspire/aspire-application/4.0/aspire-application-4.0.jar in a browser?
Enter the username/password that you entered inyour settings.xml file. - Do you use a proxy?
If so, modify settings.xml to include information as described in “Proxy Settings” on the General Settings page.
| Excerpt Include | ||||||
|---|---|---|---|---|---|---|
|
Anchor browseCSM browseCSM
Step
6| browseCSM | |
| browseCSM |
5:
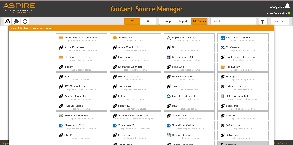
Browse to the content source management pageLaunch the Aspire Content Source Manager
- Browse to: http://localhost:50505 if you are running Aspire locally or change the host to the server hosting Aspire.
For details on using the Aspire Content Source Management page, please refer to Admin UI Audit Logs.
Anchor addSource addSource
Step
7| addSource | |
| addSource |
6: Add a
new content sourceNew Content Source
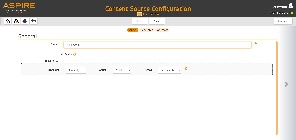
- Content Source Manager Home page, Add Source.
Click File System Connector.
| Info |
|---|
| If you want to disable the content source just clear the the Enable checkbox. This is useful if the folder will be under maintenance and no crawls are wanted during that period of time. |
In the General tab in the Content Source Configuration window, specify basic information for the content source:
- Enter a content source name in the "Name" field.
- This is any useful name which you decide is a good name for the source. It will be displayed in the content source page, in error messages, etc.
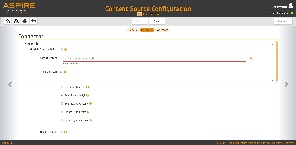
- Click on the Scheduled pull-down list and select one of the following: Manually, Periodically, Daily,Weekly or Advanced.
- Aspire can automatically schedule content sources to be crawled on a set schedule, such as once a day, several times a week, or periodically (every N minutes or hours).For the purposes of this tutorial, you may want to select Manually and then set up a regular crawling schedule later.
- Click on the Action pull-down list to select one of the following: Start, Stop, Pause, or Resume.
- This is the action that will be performed for that specific schedule.
- Click on the Crawl pull-down list and select one of the following: Incremental, Full, Real Time, or Cache Groups.
- This will be the type of crawl to execute for that specific schedule.
- This will be the type of crawl to execute for that specific schedule.
After selecting a Scheduled, specify the details, if applicable:
- Manually: No additional options.
- Periodically: Specify the "Run every:" options by entering the number of "hours" and "minutes."
- Daily: Specify the "Start time:" by clicking on the hours and minutes drop-down lists and selecting options.
- Weekly: Specify the "Start time:" by clicking on the hours and minutes drop-down lists and selecting options, then clicking on the day checkboxes to specify days of the week to run the crawl.
- Advanced: Enter a custom CRON Expression (e.g. 0 0 0 ? * *)
| Info |
|---|
| You can add more schedules by clicking in the Add New option. Note that you can separately schedule full crawls, incremental crawls, and user-group cache (used for group expansion with document-level security) downloads. |
| Note |
|---|
| Real Time and Cache Groups crawl will be available depending of the connector. |
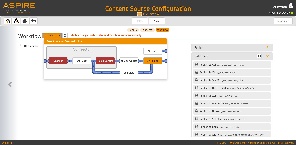
In the Connector tab, specify the connection information to crawl the File System folder.
- Enter the folder path you want to crawl.
- For Windows: Use the following format D:\folder\folder1\
- For Linux: Use the following format /home/user/folder/folder1/
- Check on the other options as needed:
- Index Containers?: Index containers as items. If unchecked, only files will be indexed.
- Scan Recursively?: Scan through subfolder's child nodes.
- Scan Excluded Item: It will scan sub items of container that have been excluded
- Include/Exclude patterns: Enter regex patterns to include or exclude files/folders based on URL matches.
| Info |
|---|
| You can add more schedules by clicking in the Add New option, and rearrange the order of the schedules. |
| Info |
|---|
| If you want to disable the content source just clear the the Enable checkbox. This is useful if the folder will be under maintenance and no crawls are wanted during that period of time. |
During the crawl, you can do the following:
- Click Refresh on the Content Sources page to view the latest status of the crawl.
The status will show RUNNING while the crawl is going, and CRAWLED when it is finished. - Click Complete to view the number of documents crawled so far, the number of documents submitted, and the number of documents with errors.
Important: If there are errors, you will get a clickable Error that will take you to a detailed error message page.
Checking the Output
Because you are publishing the results to a file, you can see the published jobs in the file you specified when installing the "Publish To File" component. Typically this will be in the "logs" directory, in the "publishToFile.jobs" file (which can be usually be found under the "Publish_To_File" sub-directory).

Step
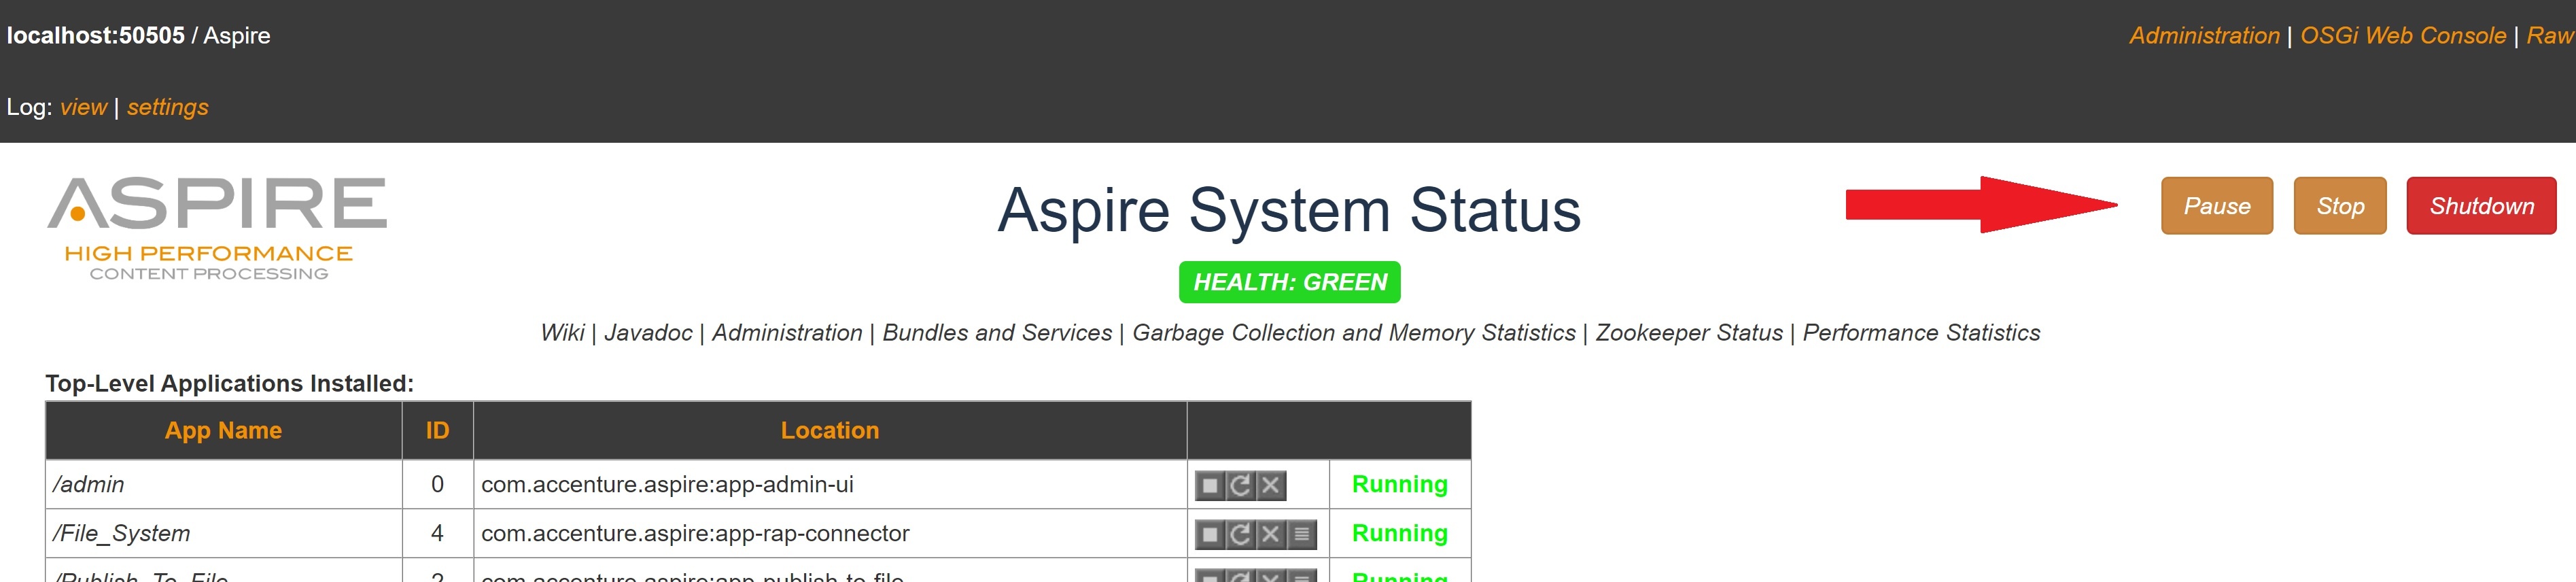
8: Shut Down Aspire
Congratulations
! You have completed the 20-minute quick start.
- the red button to the right of the server name).
Or,
go to the Aspire console window (where you started Aspire with "bin\startup") and
- Type shutdown.
- Press Return or Enter.
Overview
Content Tools