You are viewing an old version of this page. View the current version.

Compare with Current View Page History

« Previous Version 2 Next »


Step 1. Launch Aspire and open the Workflows Page.

Launch Aspire (if it's not already running). See:

Step 2. Add or select a Workflow.

  • Add a new workflow or open an existing workflow.
  • For this step, please refer to the Workflow Introduction.

Step 3. Add a new Language Detector to the Workflow.

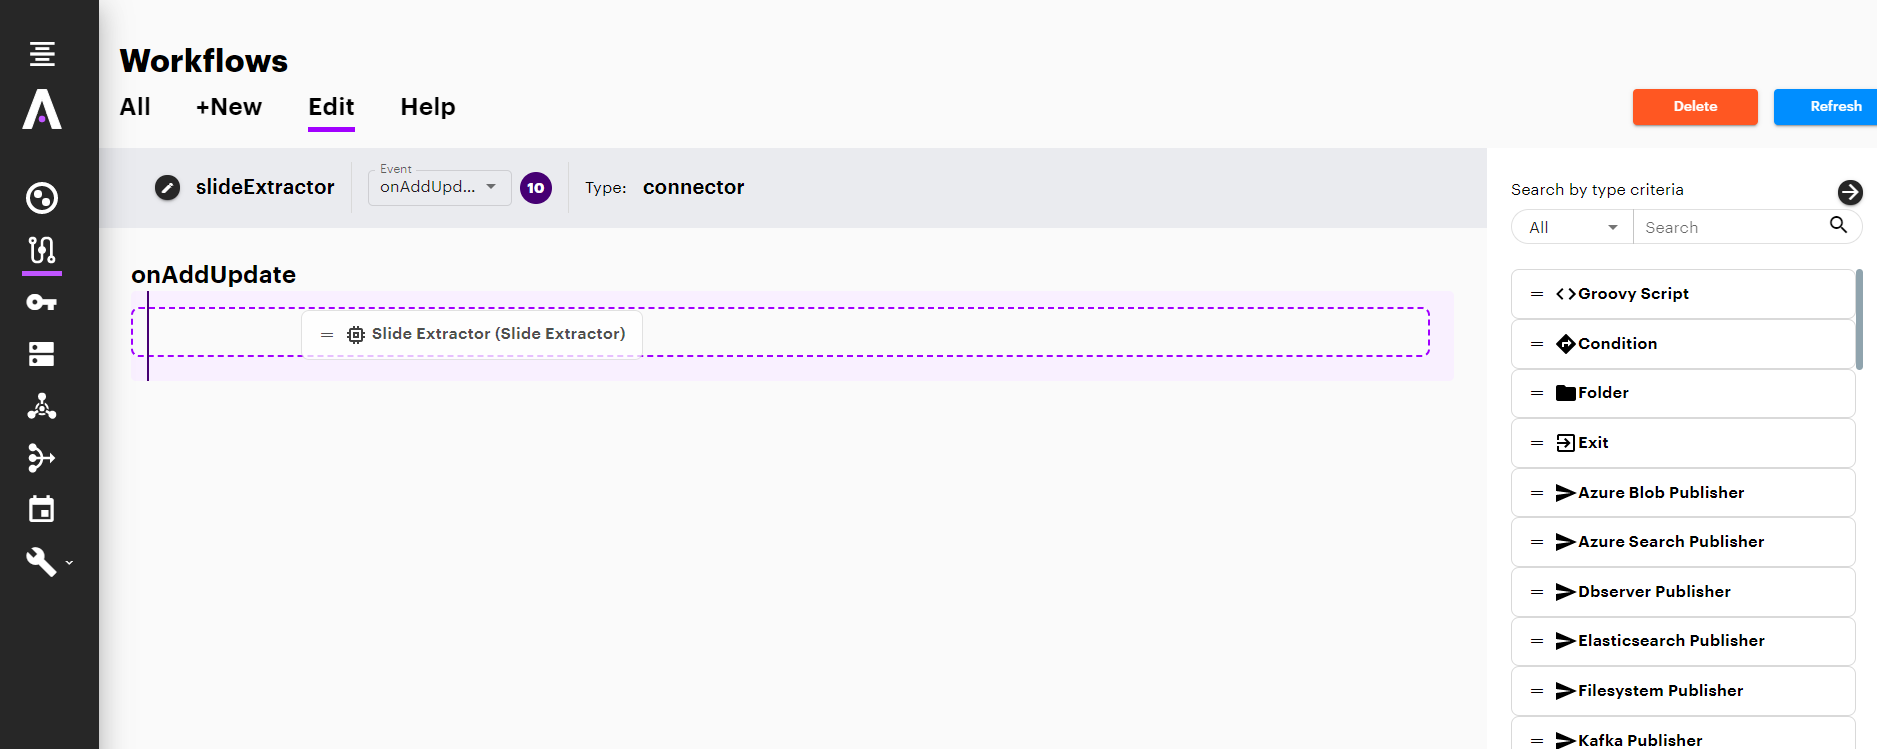
  • Select the event for which you want to add the Slide Extractor to, from the Event combo.
  • To add a Slide Extractor, drag the Slide Extractor from the Rules Section on the right side of the screen and drop it below the Workflow Event to the left side of the screen. This will automatically open the Slide Extractor window for the configuration of the component.


Step 3a. Specify a description.

  In the Slide Extractor window, specify the component information.

  1. General:
    1. Description: Enter the description of the component.

    2. Set Temp Files Path: The path to the folder where the temporal files were be processed. Also, you can set a System Variable "user.dir" with the path (if False the system variable is needed).

    3. Set Max Character to read: Maximum characters for the file loaded into memory to be parse. (False will set to unlimited).
    4. Add Extra Info from parent: Specify name of the field from the parent job to add as extra info to every slide.

    5. Parse process timeout: Maximum time (in minutes) for the processing thread to wait for the parsing result.

    6. Wait For SubJobs sleep: Time to wait (in milliseconds) until all sub jobs are done.

    7. Debug: Enable debug logs


Once you've clicked on the Add button, it will take a moment for Aspire to download all the necessary components (the Jar files) from the Maven repository and load them into Aspire. Once that's done, the component will appear in the Workflow Tree.

For details on using the Workflow section, please refer to the Workflow introduction.

  • No labels