Create Connection
- On the Aspire Admin UI go to the connections tab

- All existing connection will be list. Click on the new button

- Enter the new connection description.
- Select SMB from the Type list.
- General
- Hostname: Hostname where the shared directory is located.
- Port: Port where the SMB protocol is used.
- Index directories: Enable to index the directories.
- Scan recursively: Enable to scan discovered directories recursively.
- Stop on scan error: If checked, the crawl will stop if error.
- Disable fetcher: Check to disable the connector fetcher, only metadata will be collected.
- Show SMBJ logs: Enable SMBJ logging, (WARNING) enabling decrease performance.
- Scope
- Scan excluded items: Enable to force the scan of excluded directories, so child items within the scope can be found.
- Include patterns: Patterns to match against document URL, if any of them match, the document will be included in the crawl.
- Exclude patterns: Patterns to match against document URL, if any of them match, the document will be excluded from the crawl.
- Security
- Static ACLs: These ACLs will be added to all the documents.
- Name: Name of the ACL.
- Domain: Domain to which the ACL belongs to.
- Entity: Whether this ACL is for a group or a user.
- Access: Whether this ACL will have access to crawled files.
- Connection
- : Check to resolve (DFS) paths.
- Connection timeout: Timeout in milliseconds for each SMB request.
- Maximum retries: Maximum retries permitted per document.
- Base back off: Base time for the back off sleeps (in ms).
- Back off multiplier: Multiplier factor to be used for the back off time.
- Credentials
- Select credential for this connection.
- Policies
- Throttle Policy: Select the throttle policy that applies to this connection object.
- Routing Policies: Select the routing policies that this connection will use.


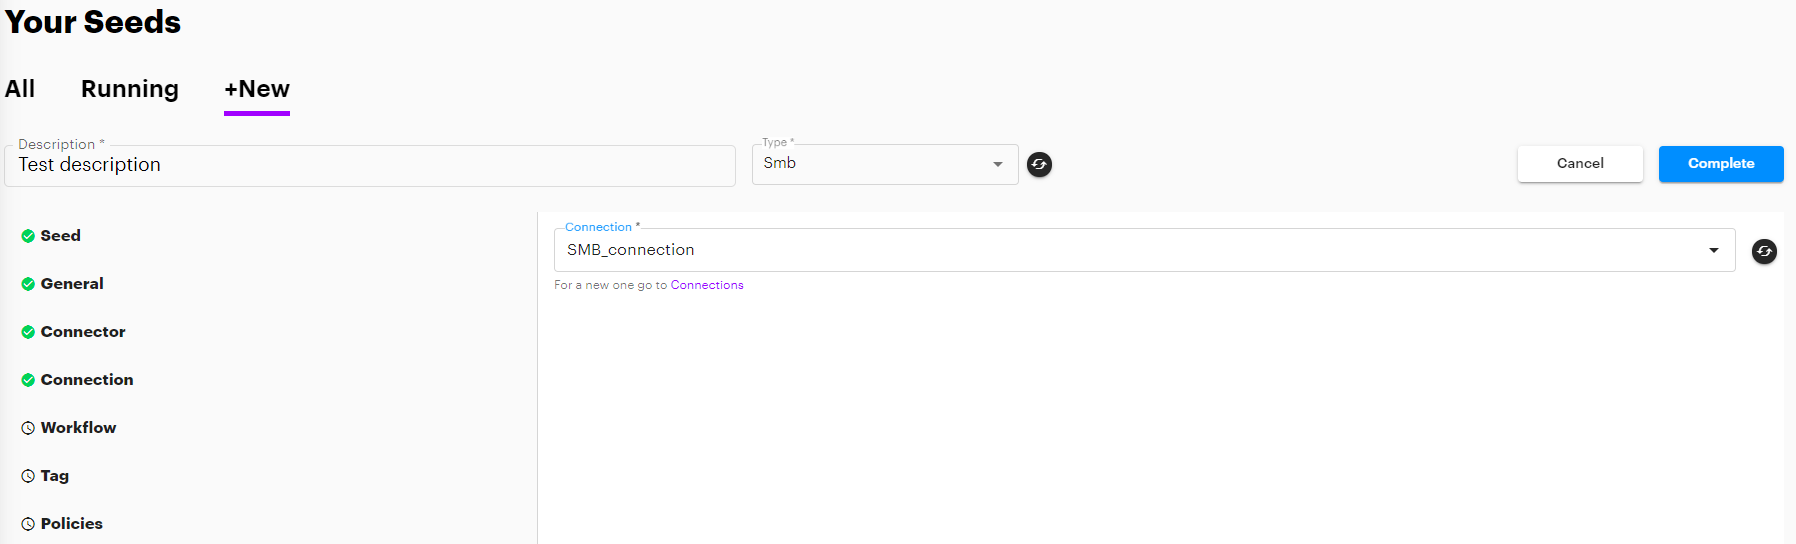
Create Seed
- On the Aspire Admin UI go to the connections tab

- All existing connection will be list. Click on the new button
- Enter the new seed description.
- Select SMB from the Type list.
- Seed: Crawl path. This value will be appended to the base path of the connection.
- General: Process start path as a file: If checked, the path will be processed as a file instead of a directory. (WARNING: The crawler will only process the seed and then will stop.)
- Connector: The ID of the connector to be used with this seed. The connector type must match the seed type.
- Connection: The ID of the connection to be used with this seed. The connection type must match the seed type.
- Workflow: The IDs of the workflows that will be executed for the documents crawled.
- Tag: The tags of the seed, these can be used to filter the seed.
- Policies
- Throttle Policy: Select the throttle policy that applies to this connection object.
- Routing Policies: Select the routing policies that this connection will use.


Create Credential
- On the Aspire Admin UI go to the credentials tab

- All existing credentials will be list. Click on the new button
- Enter the new credential description.
- General
- Domain: Domain of the account that will crawl shared directory. Leave blank for local user.
- Username: Account User
- Password: Account Password


Overview
Content Tools
Copyright © 2024 Accenture