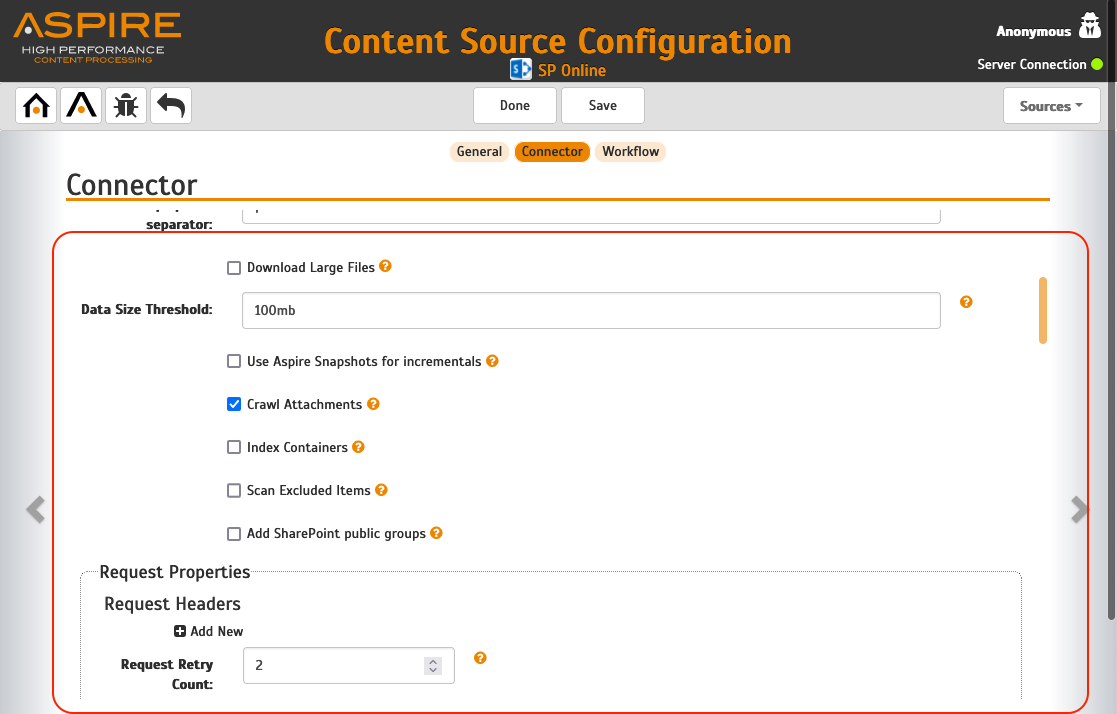
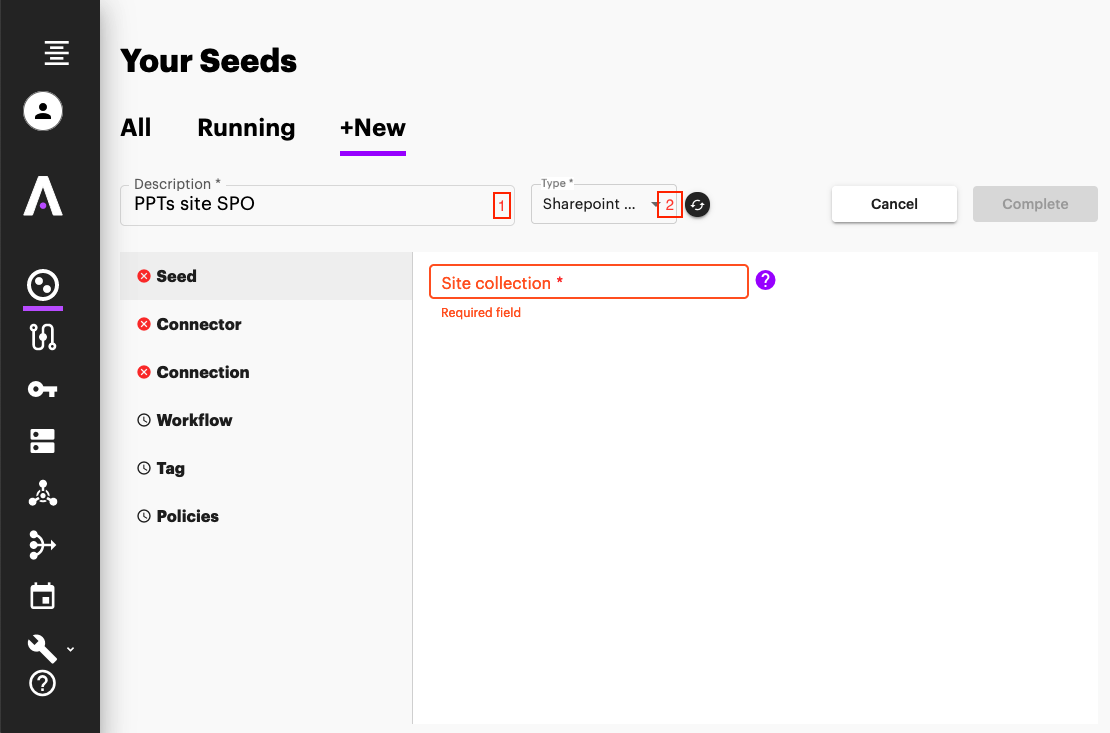
This section describes the Migration of the SharePoint Online Configuration from 4.0 to 5.0.
Step 1. Open the Aspire Admin UI.
Browse to the Aspire Admin UI. It is typically located at http://localhost:50505.
Step 2. Migrate a content source crawl configuration.
Choose a content source on Aspire 3/4 you want to migrate to Aspire 5. To verify the availability of the connector in Aspire 5, please refer to the Connectors page.
Step 3. Create a Connector Instance in Aspire 5
Create a Connector Instance in Aspire 5 for the connector you'll use
- Open Aspire 5 Admin UI and click on the “Connector Instances” Section on the left side menu
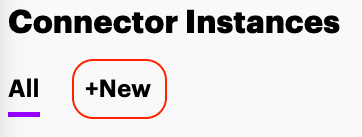
- In the Connector Instances Section, click on “New”
- Enter a name for your Connector Instance and select “Sharepoint-online” as type.
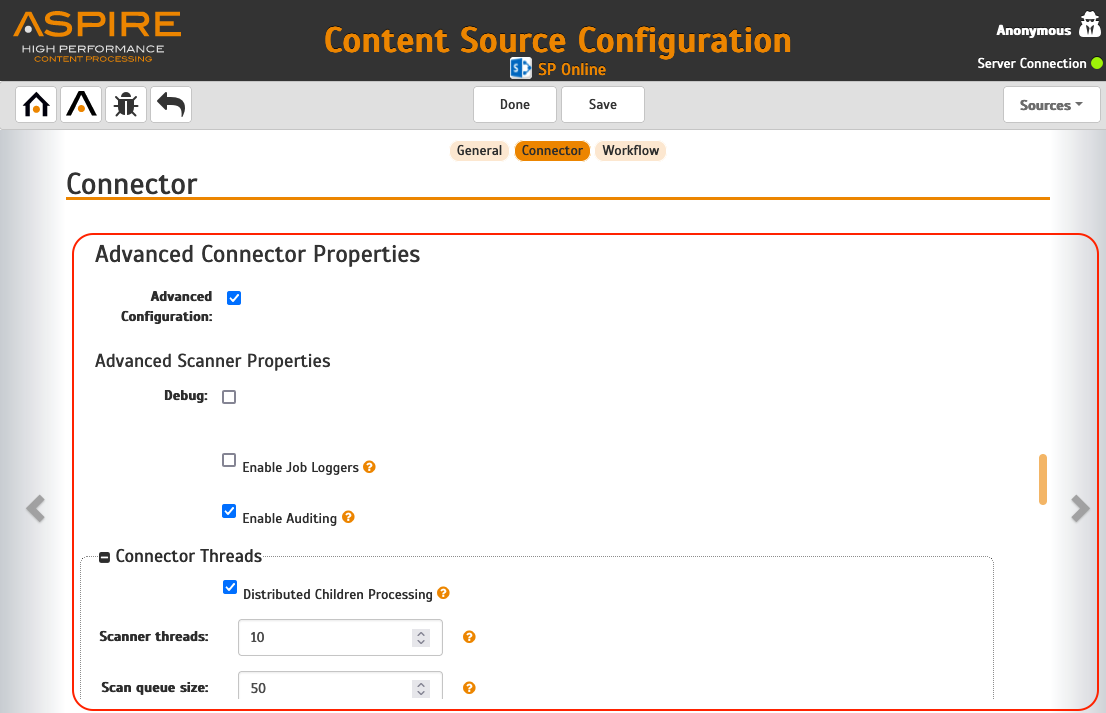
- Configure the properties you need for this connector instance, all the properties you can select here can be found in Aspire 3/4 at the “Connector” section of the content-source configuration, at the “Advanced Connector Properties” subsection.
- Click on “Complete” on the Aspire 5, connector instance creation, once all the properties have been set up.
Step 4. Create a Credential Configuration Object in Aspire 5
Once a connector instance is created, now create a Credential configuration object. We'll use this to create our connection at step 5
- Open the “Credentials” section on the left side menu
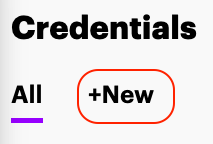
- In the Credentials section, Click on “New”
- Enter a name for your Credentials object and select “Sharepoint-online” as type.
- Choose and fill the right credentials properties, this can typically be found on the “Connector” section on the Aspire 3/4 content source
- Once all the properties have been set, Click on “Complete” to create the Credentials object
Step 5. Create a Connection Configuration Object in Aspire 5
Once the Credentials object is created, now create a “Connection” configuration object.
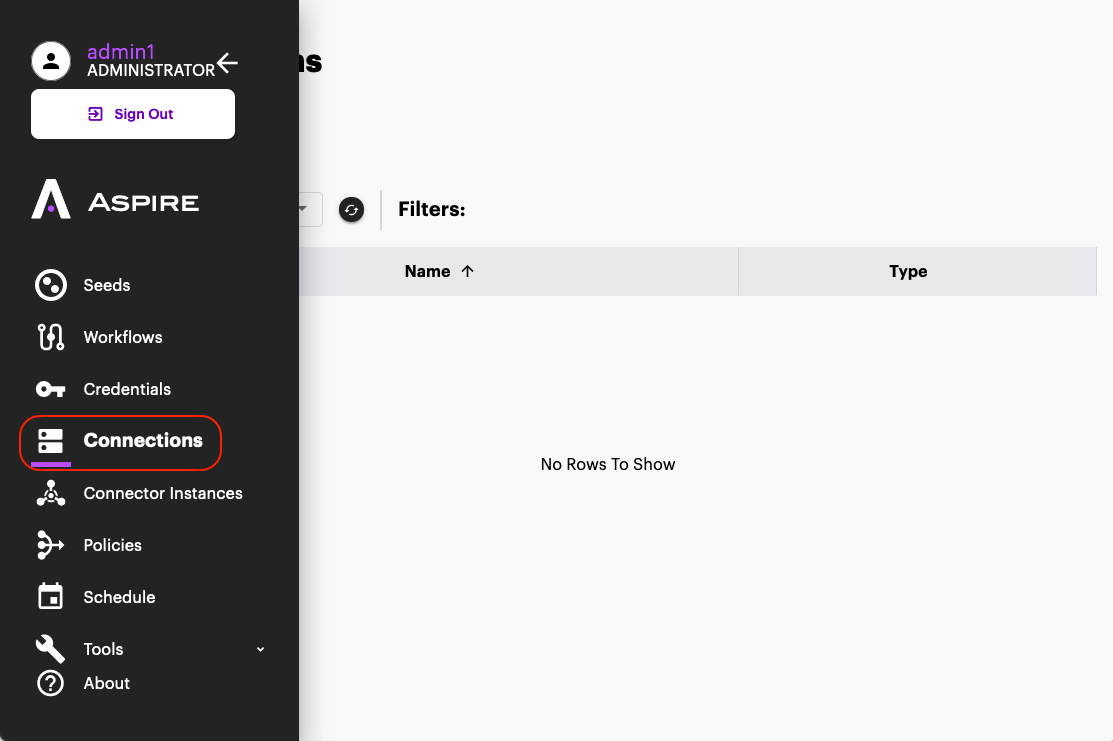
- Open the “Connection” section on the left side menu
- In the Connections section, Click on “New”
- Enter a name for your Connection object, and select “Sharepoint-online” as type.
- Enter the properties required for your connection object, these properties can be found in Aspire 3/4 in the “Connector” section of the content-source. Notice that the Server URL is NOT the crawl path, but rather, a base URL to use for the crawls. All paths configured in section 4 seeds, will be relative to this Server URL. What's considered a Base URL changes from connector to connector. Please check each connector documentation for more details.
- Select the credential you created in step 4
- Once everything is configured, Click on “Complete” to create the Connection object
Step 5. Create a Seed Object in Aspire 5
Once the Connection object is created, now the Seed objects can be created. Seeds are the starting points for the crawls, they represent specific locations to start the crawls from. They are configured relative to “Connection” and Connector Instance objects.
- Open the “Seeds” section on the left side menu
- Once on the Seeds section, Click on “New”
- Enter a name and select “Sharepoint-online” as Type.
- Enter the relative path to your start site collection or list (do not include the Server URL)
- Choose the Connector and Connection objects created in Steps 3 and 5
- On the Workflow section, select the workflows that the documents generated by the crawls will execute
- Follow Workflows - Migration Guide for details on migrating your existing Aspire 3/4 workflow configurations
- If you don't have a workflow, you can leave it Empty.
- Click on Complete to create the new Seed
Step 6. Schedule Crawls.
Scheduling a Crawl in Aspire 5 differs from Aspire 3/4 on where it is configured. Like you have seen so far, everything is configured in separate configuration objects, and scheduling is no different: it must be configured via its own configuration object.
A Schedule Configuration object specifies when to start an Action (Start, Stop, Pause, Resume) on a set of Seed objects.
Follow the instructions at Schedules for more information on how to set them up.


