Page History
...
Aspire 5 was developed and tested using OpenJDK 11
Step 2. Deploy your Aspire 5 cluster
There are several options on deploying Aspire 5, from on-premise installations both Windows or Linux based, up to container based deployments using Kubernetes. Choose your preferred deployment option and follow the instructions at How to Install Aspire.
Step 3. Choose a content source to migrate
Choose a content source on Aspire 3/4 you want to migrate to Aspire 5. Verify the availability of the connector in Aspire 5 at Connectors.
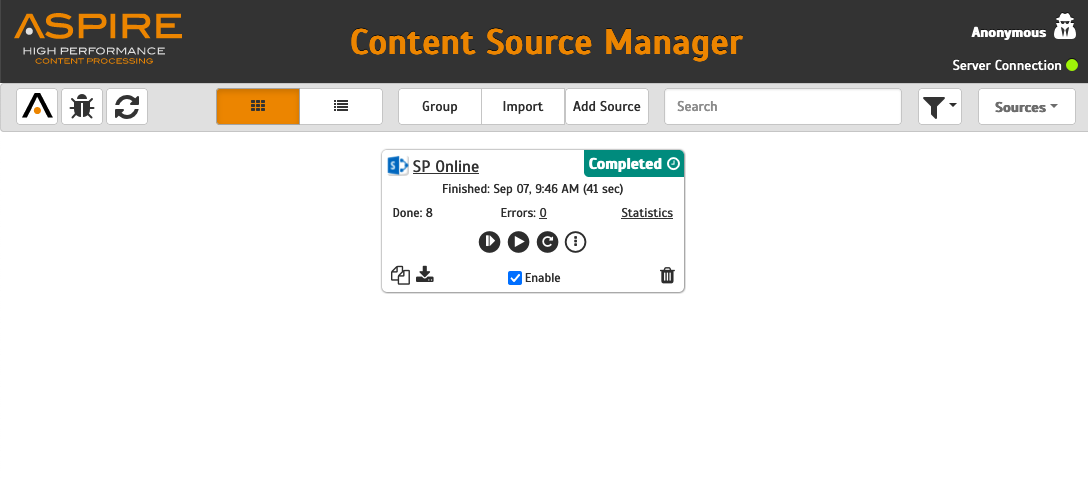
We'll use a SharePoint Online content source in Aspire 4 as an example
- Create a Connector Instance in Aspire 5 for the connector you'll use. Note that this connector instance can be shared across multiple crawl configurations, so you may only create one connector instance per content source connector type in Aspire 4.
- Open Aspire 5 Admin UI and click on the "Connector Instances" Section on the left side menu
- On the Connector Instances Section, click on "New"
- Enter the name for your new Connector instance, and select its Type (in this case SharePoint online)
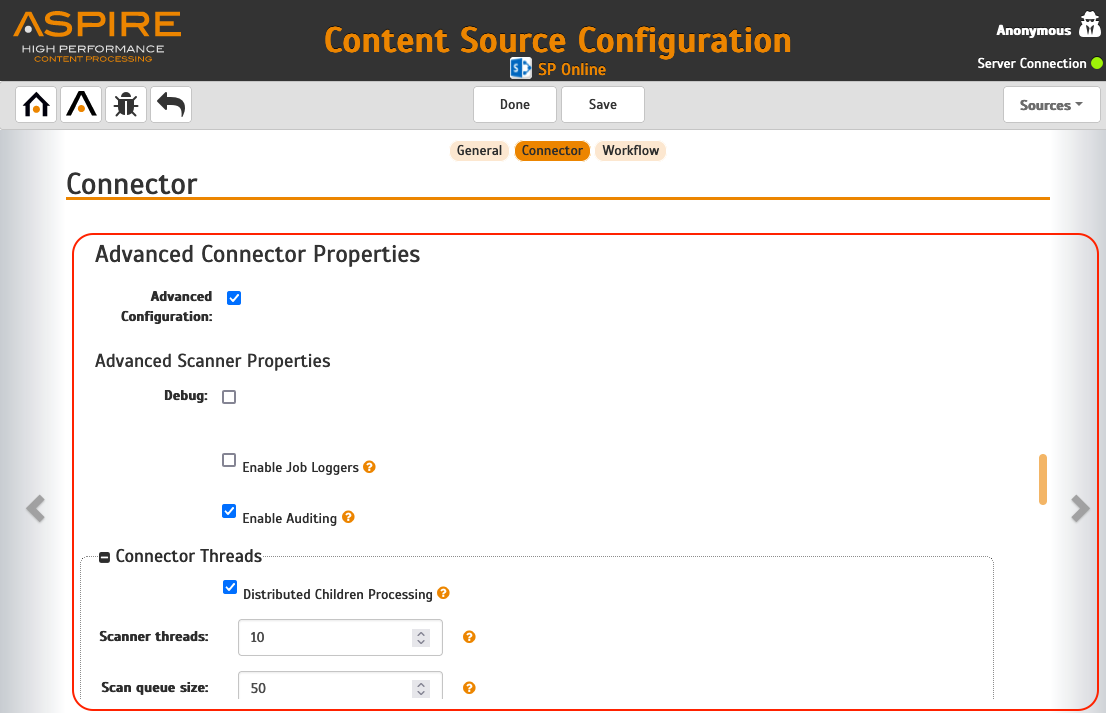
- Configure the properties you need for this connector instance, all the properties you can select here can be found in Aspire 3/4 at the "Connector" section of the content-source configuration, at the "Advanced Connector Properties" sub-section.
- Click on "Complete" on the Aspire 5, connector instance creation, once all the properties have been set-up.
- Open Aspire 5 Admin UI and click on the "Connector Instances" Section on the left side menu
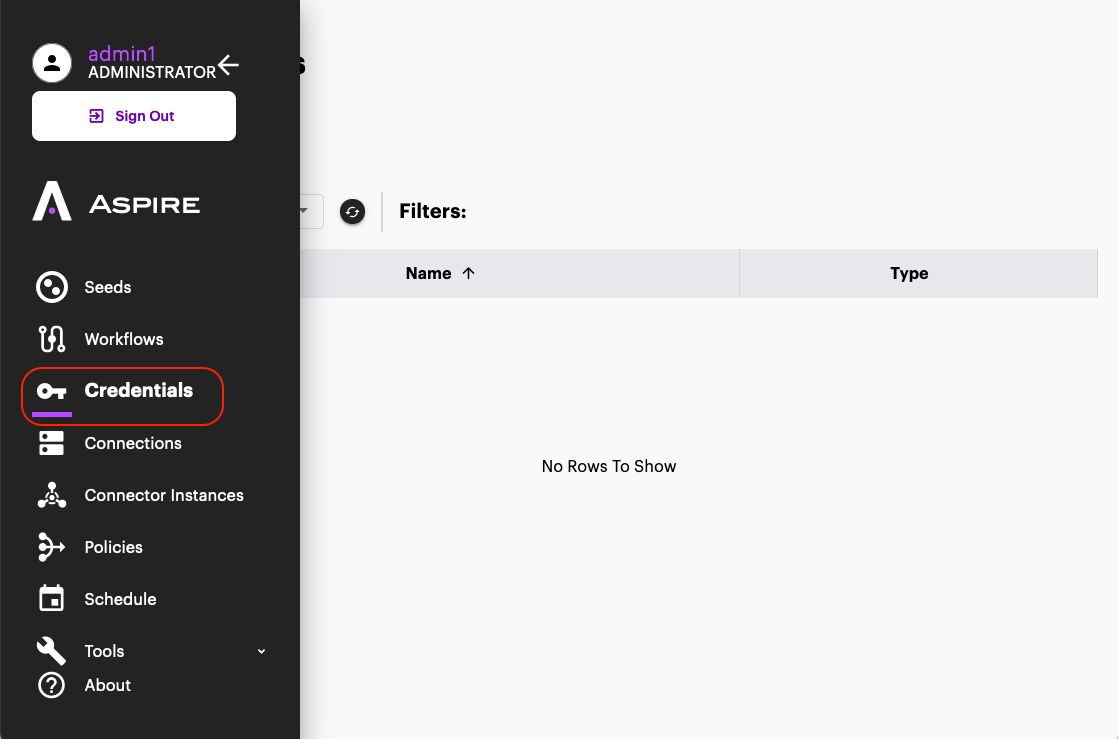
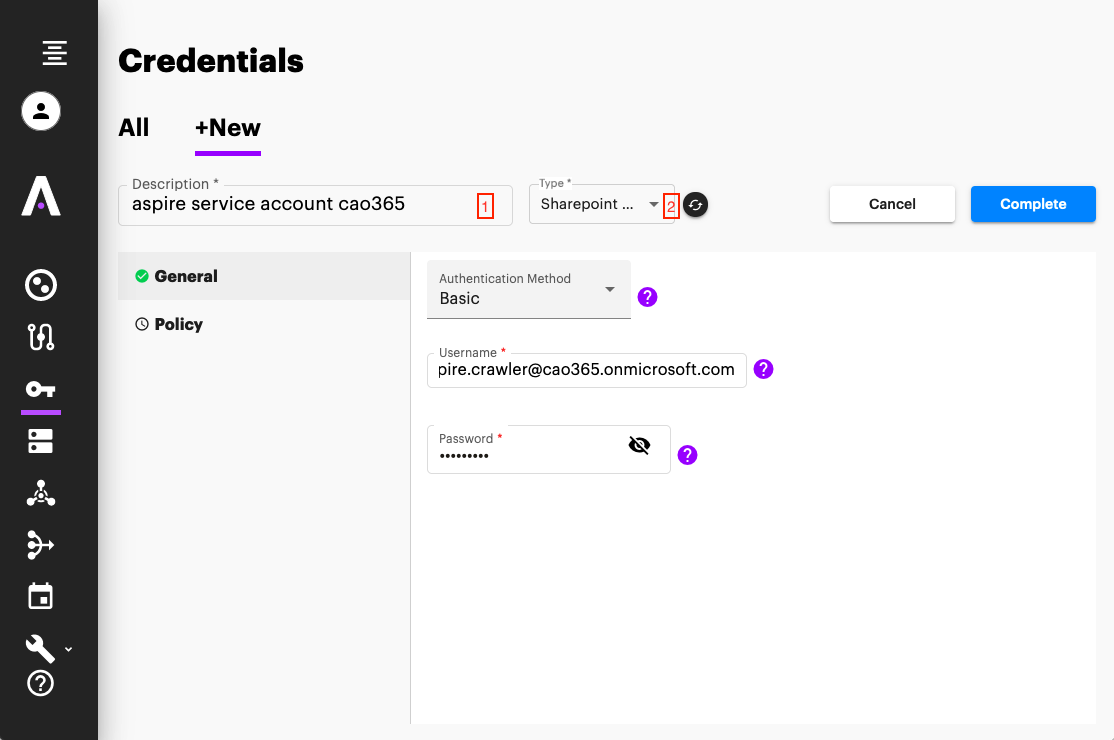
Once a connector instance is created, now create a Credential configuration object. We'll use this to create our connection at step 3.- Open the "Credentials" section on the left side menu
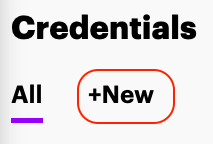
- On the Credentials section, Click on "New"
- Enter a name for your Credentials object and the type of source (in this case SharePoint online)
- Choose and fill the right credentials properties, this can typically be found on the "Connector" section on the Aspire 3/4 content source
- Once all the properties have been set, Click on "Complete" to create the Credentials object
- Open the "Credentials" section on the left side menu
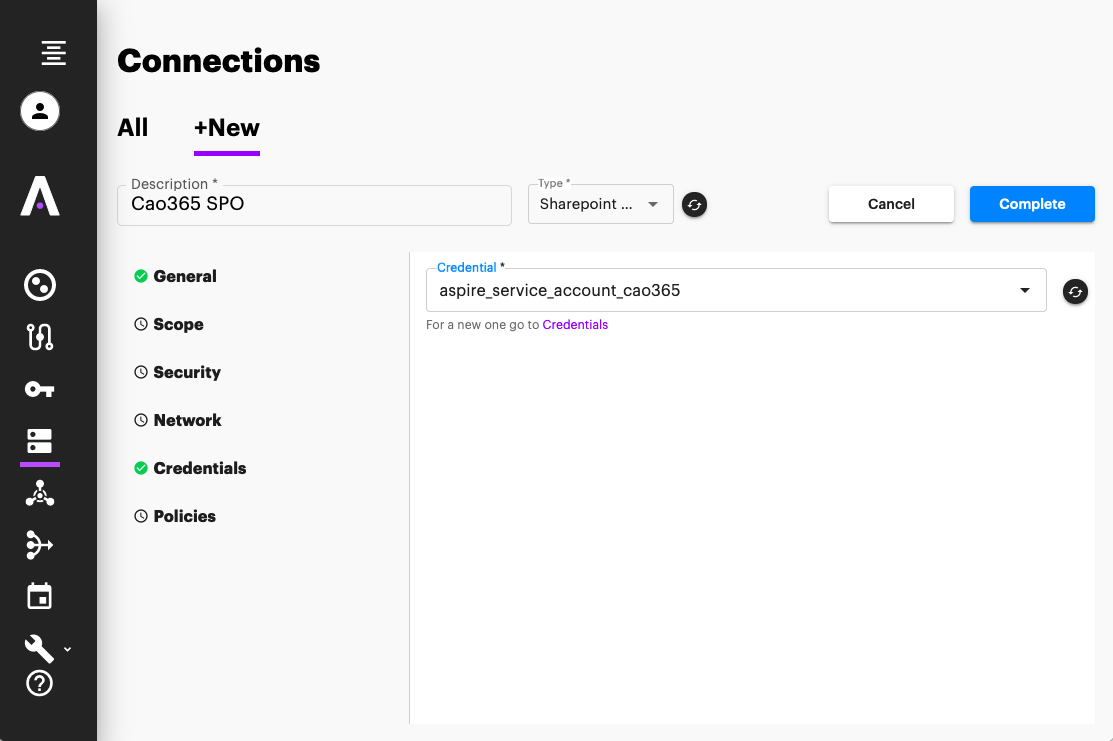
Once the Credentials object is created, now create a "Connection" configuration object. This will point to your SharePoint online instance, without indicating the site collections to crawl (each site collection or list would be a different configuration object).- Open the "Connection" section on the left side menu
- On the Connections section, Click on "New"
- Enter a name for your Connection object, and its type (in this case SharePoint Online)
- Enter the properties required for your connection object, these properties can be found in Aspire 3/4 at the "Connector" section of the content-source. Notice that the Server URL is NOT the crawl path, but rather, a base URL to use for the crawls. All paths configured in section 4 seeds, will be relative to this Server URL. What's considered a Base URL changes from connector to connector. Please check each connector documentation for more details.
- Select the credential you created in step 2
- Once everything is configured, Click on "Complete" to create the Connection object
- Open the "Connection" section on the left side menu
Once the Connection object is created, now the Seed objects can be created. Seeds are the starting points for the crawls, they represent specific locations to start the crawls from. They are configured relative to "Connection" and Connector Instance objects.


Aspire 5 splits the configuration of crawls into several interconnected configuration objects, which combined can run a crawl, we need to take our "content-source" configuration and split it into the required Aspire 5 configuration objects.
...
Overview
Content Tools